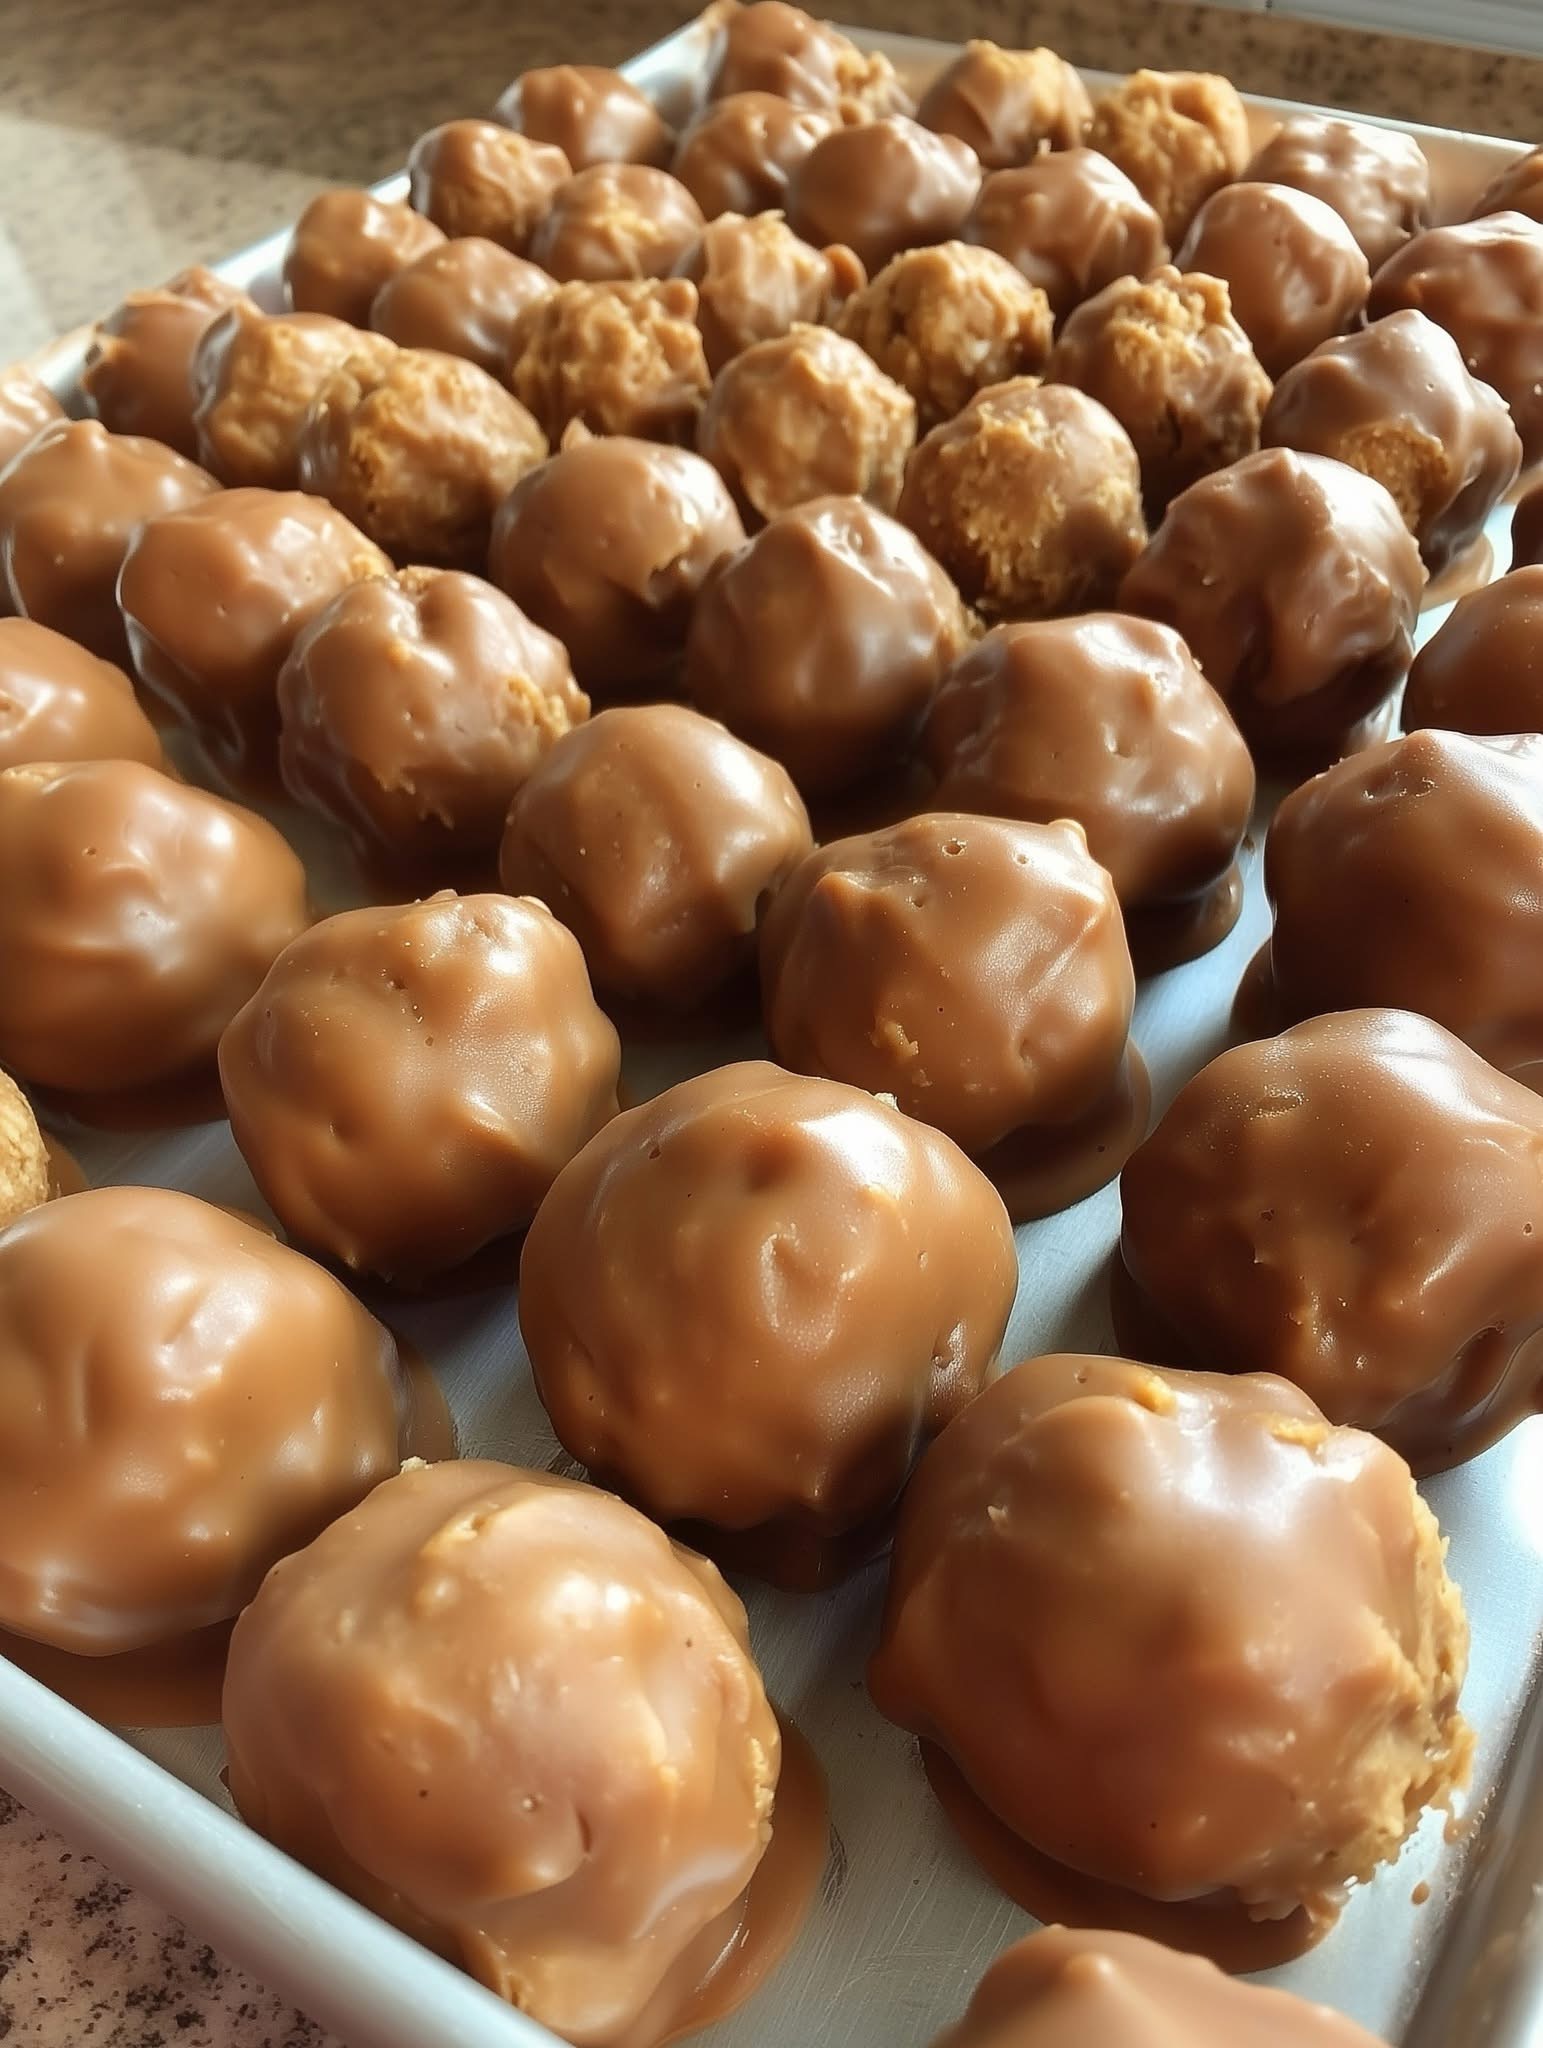
Of course! Butterfinger Balls are an incredibly easy, no-bake dessert that captures the crunchy, peanut-buttery flavor of the classic candy bar in a simple, bite-sized form. They’re a huge hit at parties, potlucks, and for holiday treats.
Here is a classic, highly-rated recipe with tips and variations.
Classic Butterfinger Balls Recipe
This recipe uses simple ingredients and requires no baking, just a bit of chilling time.
Prep Time: 20 minutes
Chill Time: 1-2 hours
Total Time: 1 hour 20 minutes (mostly inactive)
Yield: About 24-30 balls
Ingredients
· 1 (10 oz.) bag of Butterfinger Bites or 6 “Fun Size” Butterfinger bars, finely crushed
· 1 (8 oz.) block of cream cheese, softened to room temperature
· 1 (12 oz.) bag of semi-sweet or milk chocolate chips
· 1 teaspoon of coconut oil or shortening (optional, for smoother dipping)
Instructions
- Prepare the Filling: In a medium bowl, use a hand mixer to beat the softened cream cheese until it’s smooth and creamy. This ensures no lumps.
- Combine: Add the finely crushed Butterfinger bits to the cream cheese. Mix by hand with a spatula or spoon until fully combined. The mixture will be thick.
- Chill the Mixture: Cover the bowl and refrigerate for at least 1-2 hours. This step is crucial! A firm mixture is much easier to roll and won’t stick to your hands.
- Form the Balls: Use a small cookie scoop (about 1 tablespoon) or a spoon to portion out the mixture. Roll it between your palms to form smooth, 1-inch balls. Place them on a baking sheet lined with parchment or wax paper.
- Chill Again: Once all balls are rolled, place the baking sheet in the freezer for 15-20 minutes. This final chill will make them firm and prevent them from melting when you dip them in the warm chocolate.
- Melt the Chocolate: While the balls are chilling, melt the chocolate chips and coconut oil/shortening (if using) in a microwave-safe bowl. Heat in 30-second intervals, stirring well each time, until the chocolate is smooth and fully melted.
- Coat the Balls: Remove a few balls from the freezer at a time. Using a fork or a dipping tool, dip each ball into the melted chocolate, ensuring it’s fully coated. Tap the fork gently on the side of the bowl to remove any excess chocolate.
- Set and Store: Place the dipped ball back onto the parchment-lined baking sheet. If desired, you can sprinkle a few extra Butterfinger crumbs on top before the chocolate sets.
- Let the Chocolate Set: Allow the chocolate to harden at room temperature. For a faster set, you can place the tray back in the refrigerator for 10-15 minutes.
- Serve and Enjoy! Store any leftovers in a sealed container in the refrigerator for up to one week.
Tips for Success & Variations
· How to Crush Butterfingers: The easiest way is to place the candy bars in a zip-top bag and crush them with a rolling pin. You can also pulse them a few times in a food processor, but be careful not to turn them into a fine powder—you want some texture!
· Room Temperature Cream Cheese: This is non-negotiable for a smooth, lump-free mixture. Take it out of the fridge at least 30-60 minutes before you start.
· The Coconut Oil/Shortening Trick: Adding a small amount of fat to the chocolate chips helps thin the chocolate, making it easier to dip and giving the finished balls a smoother, more professional-looking shell.
· For a Neater Look: Use a fork to dip and a toothpick to help slide the ball off the fork onto the parchment paper.
· Variations:
· Peanut Butter Lover’s: Replace 2 oz of the cream cheese with ½ cup of creamy peanut butter.
· White Chocolate: Use white chocolate chips for dipping instead of semi-sweet.
· Different Candies: This recipe is very adaptable! Try it with crushed Oreos, Nilla Wafers, or Heath bars instead of Butterfingers.
Why This Recipe is a Winner
· No-Bake: Perfect for hot days or when you don’t want to turn on the oven.
· Easy: The process is simple and great for getting kids involved in the kitchen.
· Crowd-Pleaser: The familiar and beloved flavor of Butterfinger makes these a guaranteed hit.
Enjoy making (and eating!) these delicious little treats
