Of course! NO-BAKE chocolate oat bars are a classic, easy, and delicious treat. They’re perfect for when you need a quick dessert fix without turning on the oven.
Here is a fantastic, tried-and-true recipe for them, along with some tips and variations.
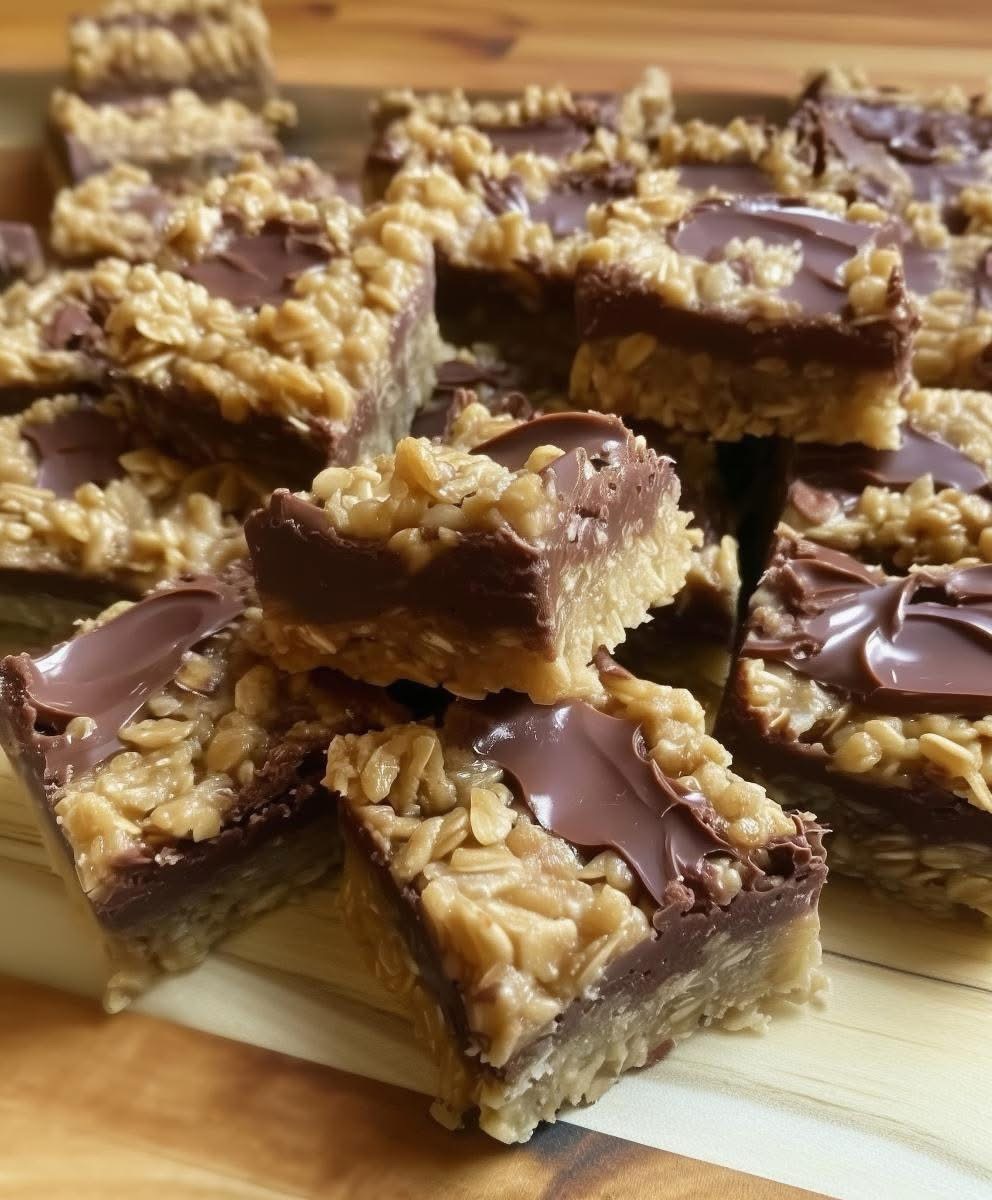
The Classic No-Bake Chocolate Oat Bar
This recipe creates a rich, fudgy, and chewy bar that’s incredibly satisfying.
Yield: 16 bars
Prep Time: 15 minutes
Chill Time: 2 hours
Ingredients
· For the Crust and Topping:
· 1 cup (2 sticks / 225g) Unsalted Butter
· 1/2 cup (100g) Packed Brown Sugar
· 1 teaspoon Vanilla Extract
· 3 cups (270g) Quick-Cooking Oats (see note below)
· For the Filling:
· 2 cups (340g) Semi-Sweet Chocolate Chips
· 1 (14 oz / 396g) can Sweetened Condensed Milk
· 2 tablespoons Butter
· 1/2 teaspoon Salt
· 1 teaspoon Vanilla Extract
Instructions
- Prepare the Pan: Line an 8×8 or 9×9 inch baking pan with parchment paper, leaving some overhang on two sides. This will make it easy to lift the bars out later.
- Make the Oat Base: In a medium saucepan over medium heat, melt the 1 cup of butter. Stir in the brown sugar and vanilla extract until the sugar has dissolved and the mixture is smooth. Remove the pan from the heat.
- Combine with Oats: Stir in the quick oats until everything is well coated and combined.
- Press the Base: Press half of the oat mixture firmly and evenly into the bottom of your prepared pan. Set the other half aside for the topping.
- Make the Chocolate Filling: In a separate, medium-sized saucepan, combine the chocolate chips, sweetened condensed milk, 2 tablespoons of butter, and salt. Heat over low heat, stirring constantly, until the chocolate is completely melted and the mixture is smooth.
· ⚠️ Important: Keep the heat low and stir continuously to prevent the chocolate from scorching.
· Remove from heat and stir in the 1 teaspoon of vanilla extract. - Assemble the Bars: Pour the warm chocolate filling over the prepared oat base. Spread it evenly with a spatula.
- Add the Topping: Sprinkle the reserved half of the oat mixture evenly over the chocolate layer. Gently press it down with the back of a spoon or your fingers to help it adhere.
- Chill: Place the pan in the refrigerator for at least 2 hours, or until the bars are completely firm.
- Slice and Serve: Use the parchment paper overhang to lift the entire block of bars out of the pan. Place it on a cutting board and slice into 16 squares using a sharp knife. For clean cuts, you can wipe the knife blade between slices.
Recipe Notes & Tips for Success
· Oats are Key: Quick-cooking oats are highly recommended. They are smaller and softer, which helps the base hold together better. If you only have old-fashioned rolled oats, you can pulse them a few times in a food processor or blender to break them down a bit.
· Press Firmly: The most important step for bars that don’t fall apart is to press the bottom oat layer down very firmly. Use the bottom of a measuring cup or a glass to really compact it.
· Don’t Burn the Chocolate: When making the filling, low and slow is the way to go. If you’re nervous, you can use a double boiler.
· Customize It!
· Add Nuts: Stir 1/2 cup of chopped walnuts, pecans, or almonds into the oat mixture or sprinkle on top of the chocolate layer.
· Add Coconut: Mix 1/2 cup of shredded coconut into the oat mixture for a tropical twist.
· Switch Up the Chocolate: Use dark chocolate chips, milk chocolate chips, or even butterscotch chips for a different flavor profile.
· Add Sea Salt: A light sprinkle of flaky sea salt on top of the bars before chilling elevates the chocolate flavor beautifully.
· Storage: Store these bars in an airtight container in the refrigerator for up to one week. They can also be frozen for up to 3 months. Let them thaw in the fridge before serving.
Enjoy your delicious, easy, and no-bake treat