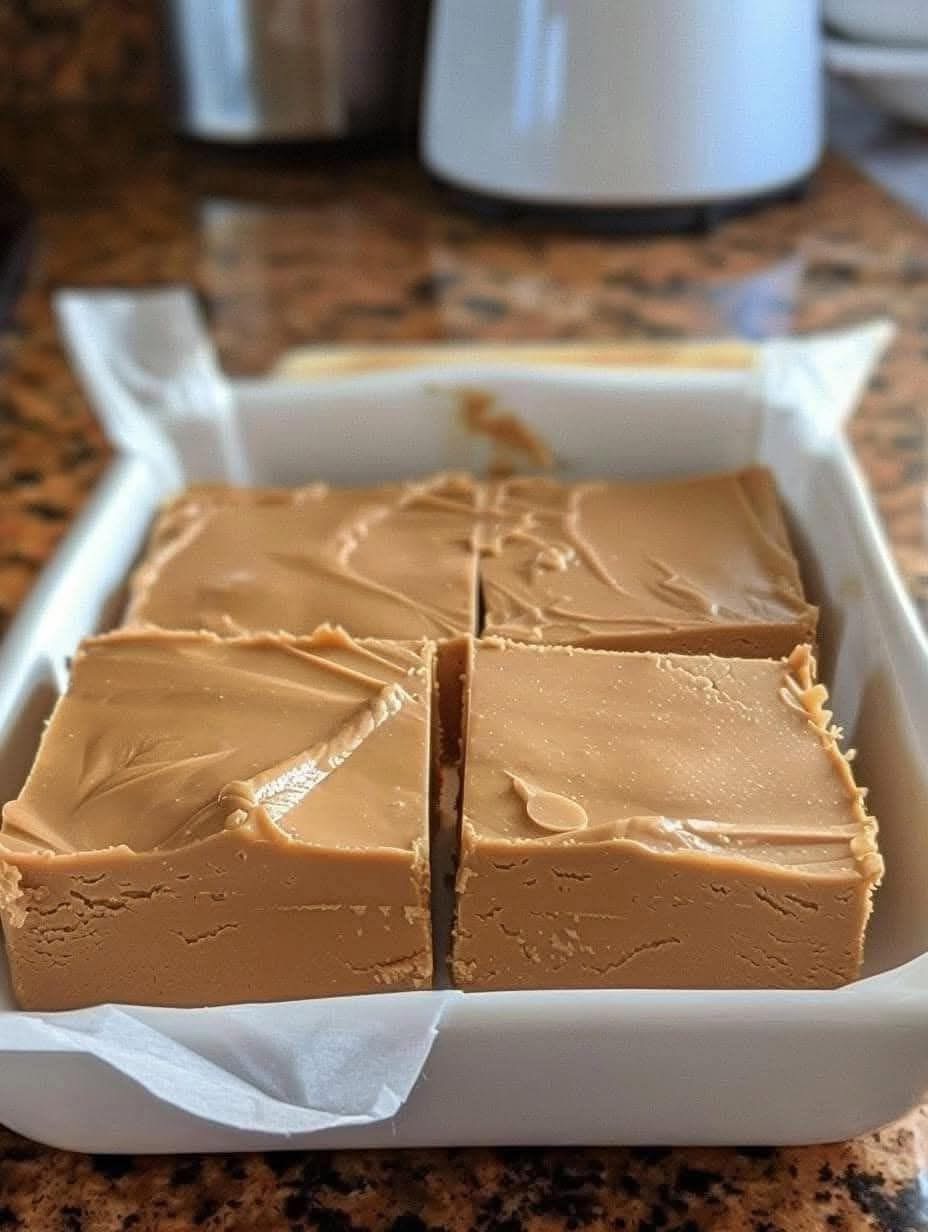
Of course! Perfect Peanut Butter Fudge is a classic, creamy, and decadent treat. This recipe is incredibly easy and requires no candy thermometer, making it foolproof for anyone.
Here are two fantastic methods: one with marshmallow fluff for a never-fail creamy texture, and a more traditional cooked version.
- Easy No-Thermometer Peanut Butter Fudge (with Marshmallow Fluff)
This is the simplest, most reliable method for perfectly smooth and creamy fudge every time.
Yields: About 36 pieces
Prep time: 10 minutes
Setting time: 2-4 hours
Ingredients
· 1 cup (2 sticks / 225g) unsalted butter
· 1 cup (260g) creamy peanut butter (not natural/oily kind)
· 1 tsp vanilla extract
· 1 (7 oz / 198g) jar marshmallow fluff
· 4 cups (1 lb / 450g) powdered sugar
Instructions
- Prep: Line an 8×8 or 9×9 inch baking pan with parchment paper, leaving some overhang for easy removal.
- Melt Base: In a medium saucepan over medium-low heat, melt the butter and peanut butter together, stirring until smooth and combined. Remove from heat.
- Combine: Immediately stir in the vanilla extract and the entire jar of marshmallow fluff until smooth.
- Add Sugar: Gradually add the powdered sugar, about one cup at a time, stirring until completely combined after each addition. The mixture will become very thick.
- Press into Pan: Transfer the fudge mixture to the prepared pan. Press it down firmly and evenly with a spatula or your hands (lightly greased with butter to prevent sticking).
- Chill: Refrigerate for at least 2-4 hours, or until firm.
- Cut and Serve: Use the parchment paper to lift the fudge out of the pan. Cut into 1-inch squares with a sharp knife. Store in an airtight container in the fridge.
- Classic Cooked Peanut Butter Fudge
This version has a more traditional, slightly crumbly yet melt-in-your-mouth texture. A candy thermometer is highly recommended for this one.
Yields: About 36 pieces
Prep time: 10 minutes
Cook time: 10 minutes
Setting time: 2-4 hours
Ingredients
· 2 cups (400g) granulated sugar
· 1 cup (240ml) whole milk
· 1 tsp vanilla extract
· ¾ cup (195g) creamy peanut butter (not natural/oily kind)
Instructions
- Prep: Line an 8×8 inch baking pan with parchment paper.
- Cook the Syrup: In a heavy-bottomed saucepan (to prevent burning), combine the sugar and milk. Cook over medium heat, stirring constantly, until the sugar dissolves.
- Boil to Soft-Ball Stage: Once boiling, stop stirring and attach a candy thermometer. Cook without stirring until the mixture reaches 234–238°F (112–114°C), the “soft-ball stage.”
· No thermometer? Test by dropping a small bit of syrup into a glass of cold water. It should form a soft, pliable ball. - Cool Slightly: Remove from heat immediately. Add the peanut butter and vanilla but DO NOT STIR. Let the mixture cool undisturbed until the thermometer reads 110°F (43°C).
- Beat Until Thick: Using a wooden spoon, beat the fudge vigorously until it thickens, loses its gloss, and starts to hold its shape. This will take several minutes. You’ll see the texture change.
- Spread and Set: Quickly spread the thickened fudge into the prepared pan. It will set fast.
- Cool and Cut: Let it cool completely at room temperature until firm, then cut into squares.
🌟 Pro Tips for Perfect Fudge
· Use the Right Peanut Butter: For both recipes, use standard, processed peanut butter like Jif or Skippy. Natural peanut butter (the kind that separates) can cause the fudge to be oily and not set properly.
· Don’t Skimp on the Stirring (for the classic version): Beating the cooked fudge until it thickens is crucial. If you don’t beat it enough, it won’t set. If you beat it too much, it can become grainy.
· For Add-Ins: After the fudge is cooked and thickened, you can stir in ½ cup of chopped peanuts, chocolate chips, or even crumbled cooked bacon for a sweet and salty twist.
· Storage: Store fudge in an airtight container in the refrigerator for up to two weeks. It can also be frozen for up to 3 months.
Enjoy your homemade peanut butter fudge! It makes a wonderful gift and is always a crowd-pleaser.