Of course! Spicy Garlic Dill Pickles are a crunchy, tangy, and addictive treat. Making them at home is surprisingly easy and far superior to most store-bought versions.
Here is a classic, foolproof recipe for refrigerator pickles (no canning required!) that will give you crisp, flavorful pickles in just a few days.
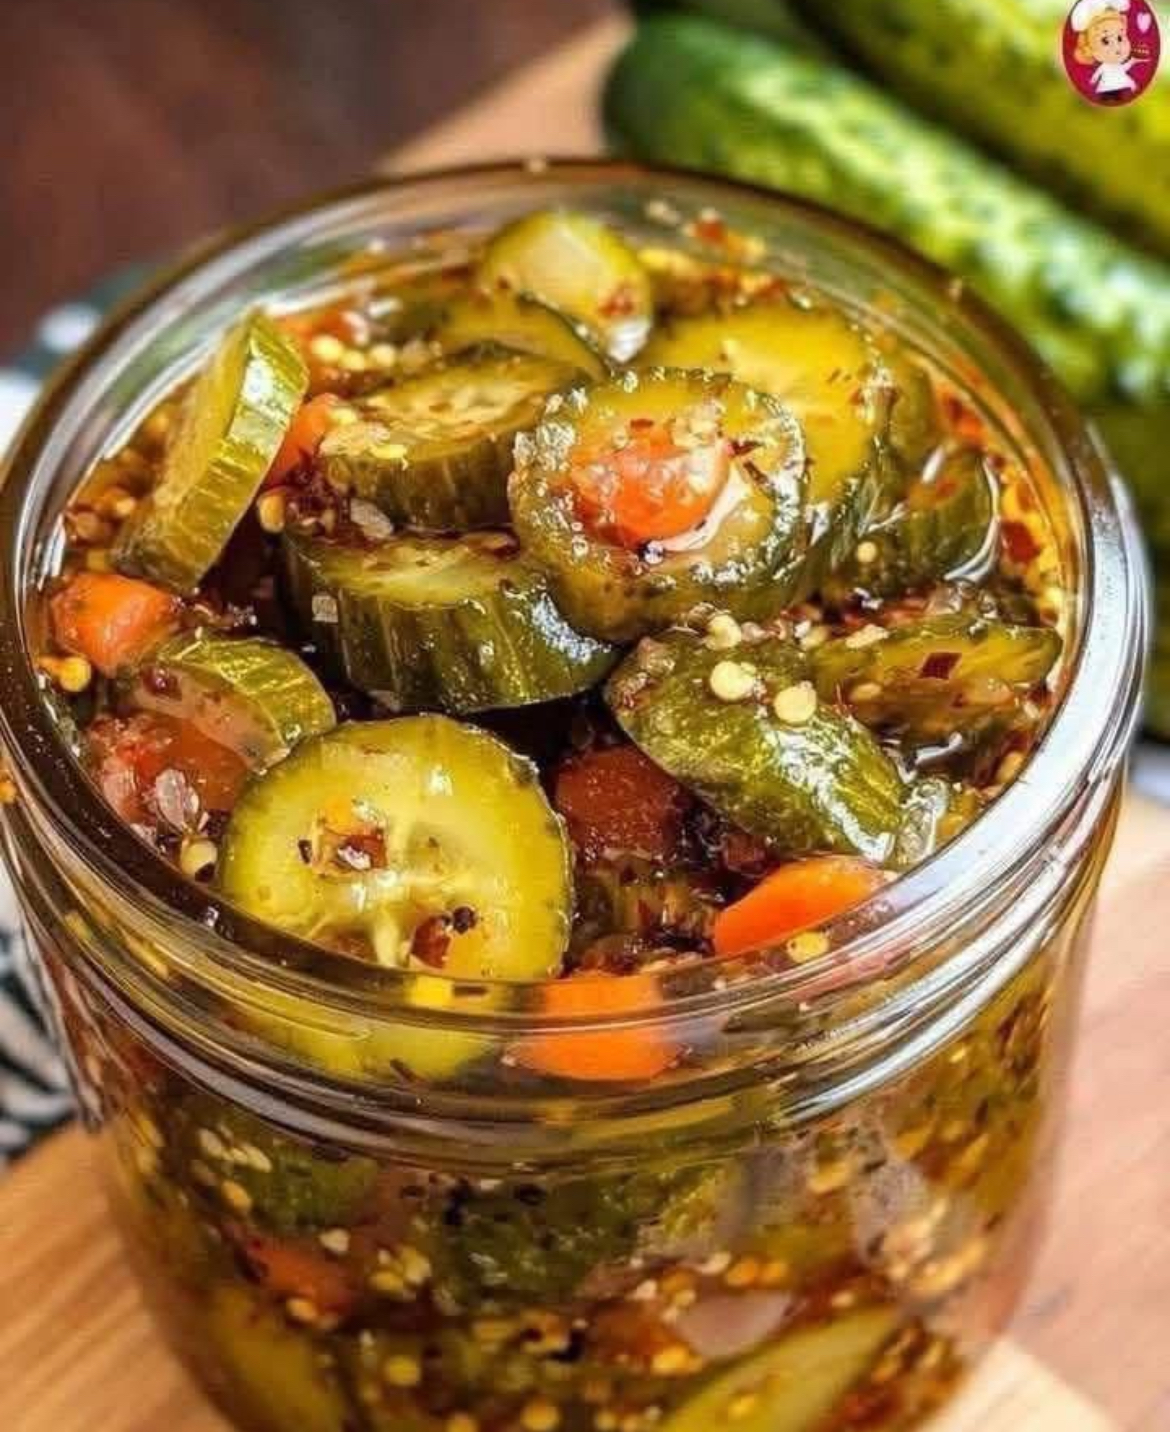
Spicy Garlic Dill Refrigerator Pickles
The “refrigerator” method is perfect for beginners because it’s simple and guarantees a crisp result.
Ingredients
· 1 lb pickling cucumbers (about 4-6 small-to-medium), often labeled “Kirby” cucumbers
· 3-4 fresh garlic cloves, smashed or thinly sliced
· 1 cup fresh dill (including stems) OR 2-3 tablespoons dill seed
· 1-2 tsp red pepper flakes (adjust to your heat preference)
· 1 tsp black peppercorns
· 1 tsp yellow or brown mustard seeds (optional but recommended)
· 2-3 bay leaves (optional)
For the Brine:
· 1 cup water
· 1 cup white vinegar (5% acidity)
· 1 tbsp pickling or kosher salt (Do not use iodized table salt, as it can make the brine cloudy and alter the flavor)
· 1 tbsp granulated sugar (optional, balances acidity)
Equipment
· 1-quart (1-liter) wide-mouth glass jar with lid
Step-by-Step Instructions
Step 1: Prep the Cucumbers
- Wash Thoroughly: Scrub the cucumbers clean under cold water. Trim off about 1/8 inch from the blossom end (the end opposite the stem). This is crucial, as the blossom end contains enzymes that can make pickles soft.
- Choose Your Cut:
· Spears: Slice each cucumber in half lengthwise, then into quarters.
· Whole: Leave them whole if they are small.
· Chips: Slice into 1/4-inch thick rounds.
Step 2: Pack the Jar
- To your clean jar, add the garlic, fresh dill, red pepper flakes, peppercorns, mustard seeds, and bay leaves.
- Tightly pack the prepared cucumbers into the jar, standing them upright if they are spears.
Step 3: Make the Brine & Pour
- In a saucepan, combine the water, vinegar, salt, and sugar (if using). Heat over medium heat, stirring just until the salt and sugar dissolve. Do not boil. You just want it warm.
- Carefully pour the warm brine over the cucumbers in the jar, leaving about 1/2 inch of headspace at the top. Ensure all the cucumbers are completely submerged. Tap the jar gently on the counter to release any air bubbles.
Step 4: Ferment and Refrigerate
- Let the jar cool to room temperature on the counter, uncovered or loosely covered.
- Once cool, seal the jar with a tight-fitting lid and place it in the refrigerator.
Step 5: The Hardest Part – Wait!
· For the best flavor, let the pickles ferment in the fridge for at least 3-5 days before eating. The flavor will continue to develop and become more complex over the next 1-2 weeks.
· They will keep for 2-3 months in the refrigerator.
Pro-Tips for the CRUNCHIEST Pickles:
· The Cucumber is Key: Use fresh, firm Kirby/pickling cucumbers. Avoid waxed cucumbers, as the brine won’t penetrate the skin.
· The Blossom End: Don’t forget to trim it! This is the single most important step for crispness.
· Add a Tannin: For extra crunch, add a natural source of tannins to the jar. A few options:
· 1 grape leaf
· 1/2 black tea bag
· A few oak or horseradish leaves
· Keep Them Submerged: If your cucumbers float, wedge a leftover cucumber slice or a small glass weight on top to keep them under the brine.
Flavor Variations:
· More Spice: Add 1-2 sliced jalapeños or a few slices of fresh habanero for a different kind of heat.
· Dilly Beans: Substitute green beans for cucumbers!
· Bread and Butter Style: Omit the dill and pepper. Add 1 sliced onion and use a brine with 1 cup vinegar, 1 cup sugar, and 1/2 cup water.
Enjoy your homemade, crunchy, and powerfully flavorful spicy garlic dill pickles! They’re a game-changer.