Of course! A classic, from-scratch apple pie is a timeless dessert that fills your home with an incredible aroma and delivers the ultimate comfort. This recipe focuses on a flaky, buttery crust and a perfectly balanced filling that’s not too runny.
Here is a comprehensive guide to making the perfect apple pie.
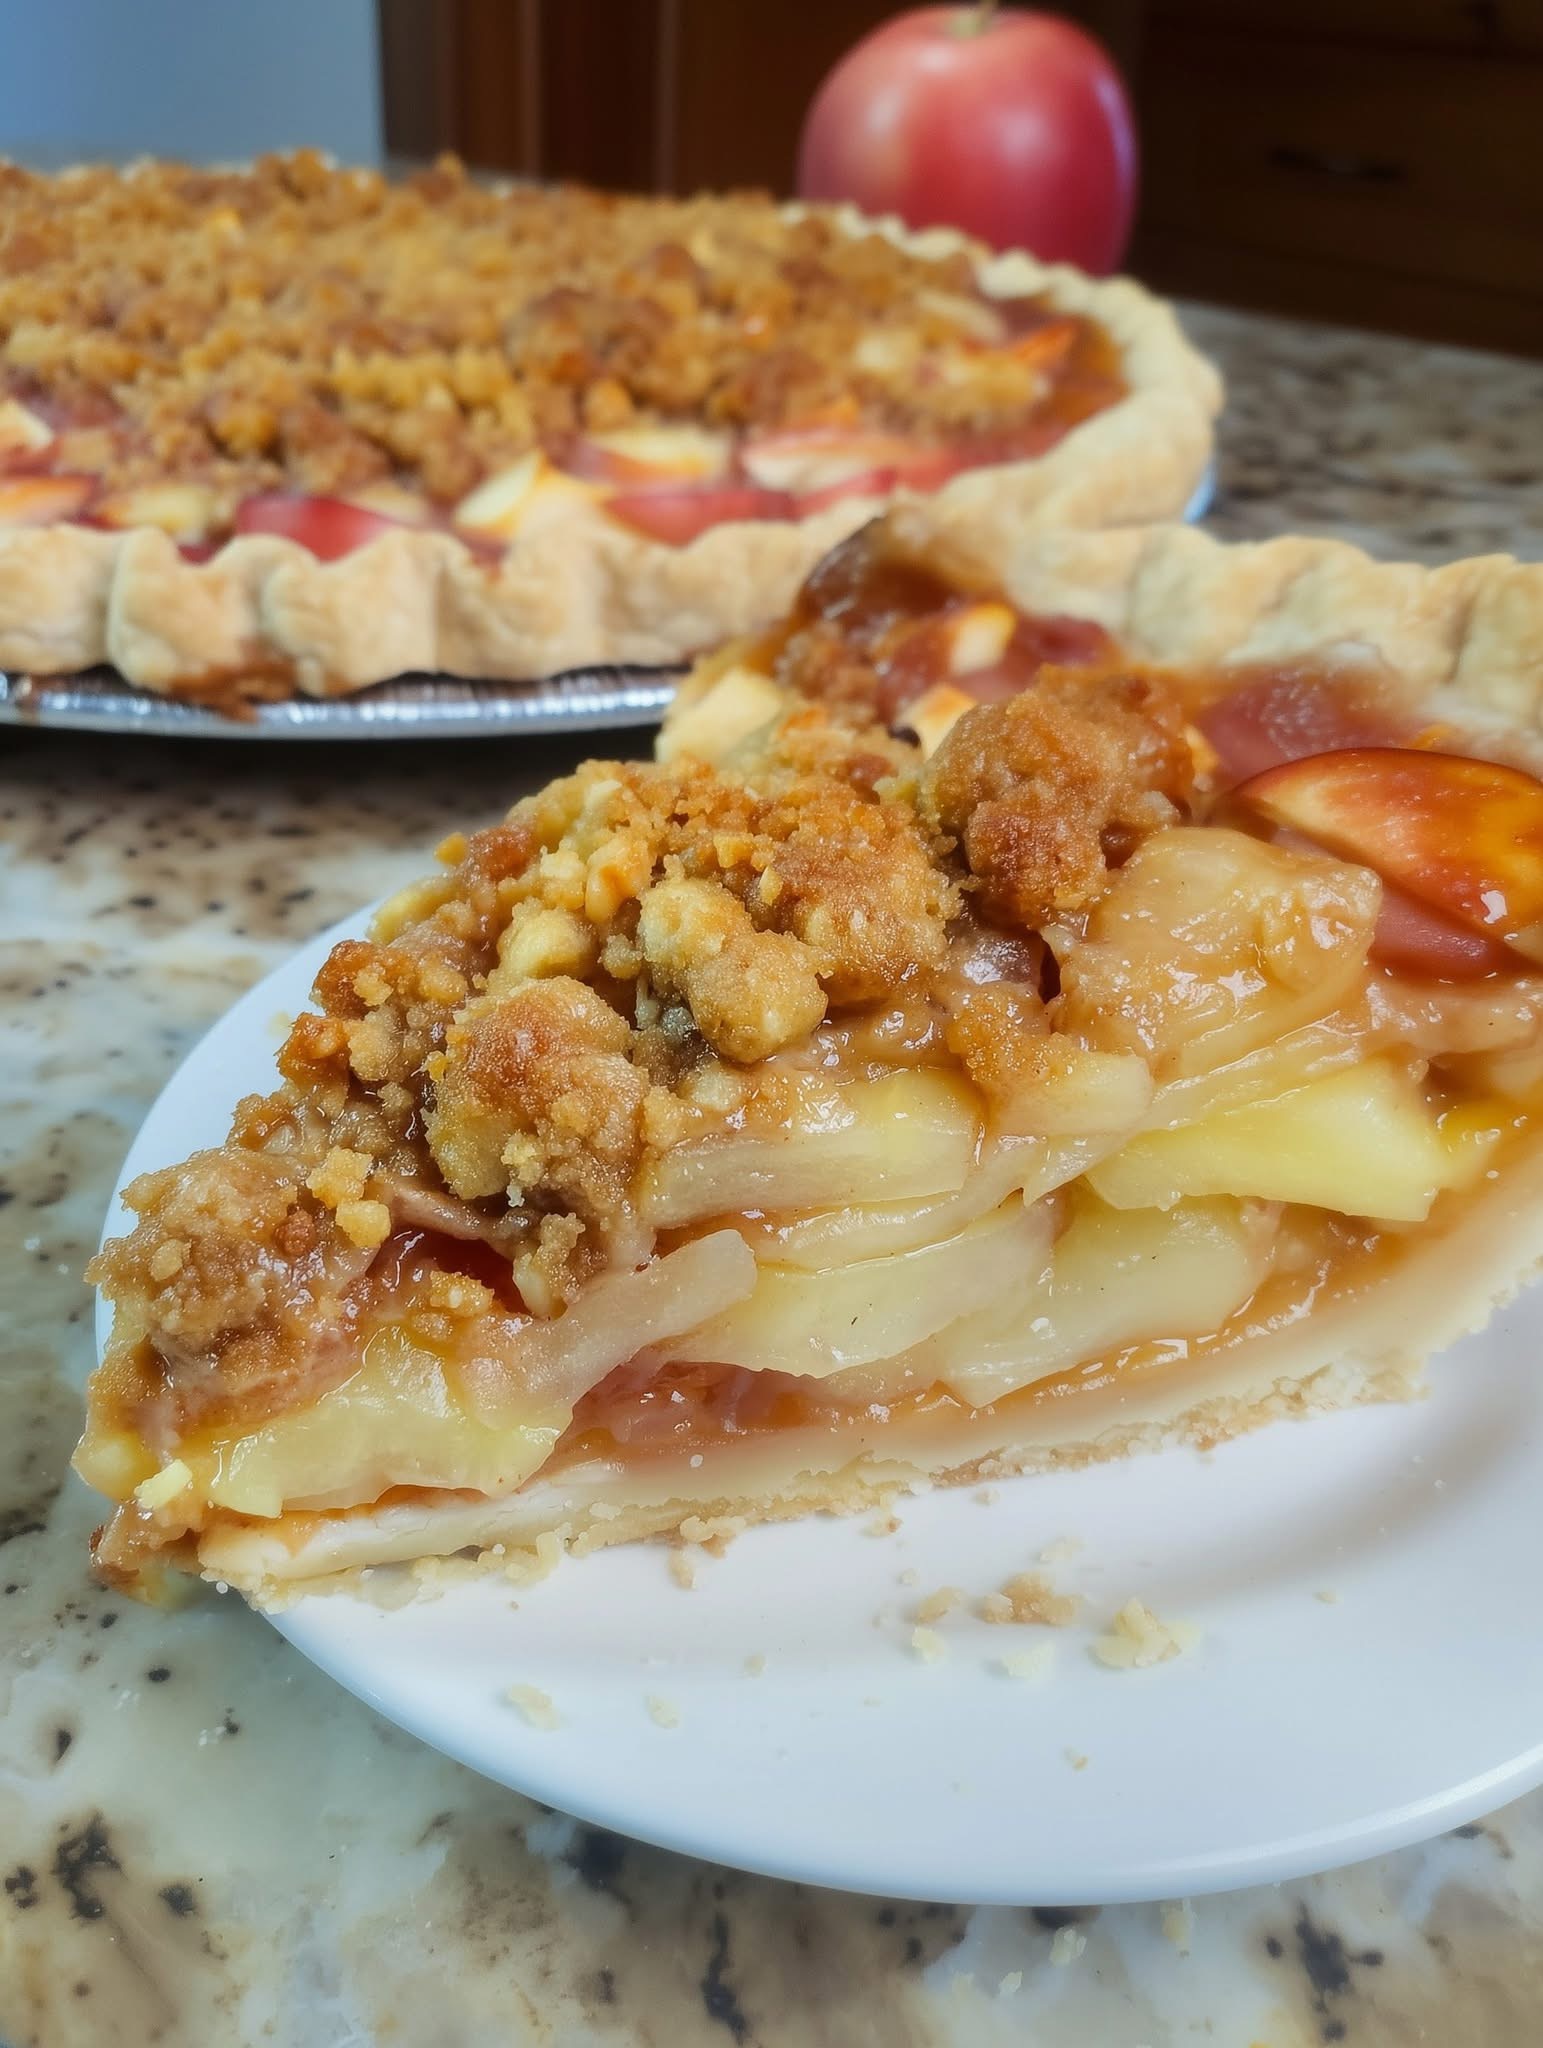
CLASSIC APPLE PIE
This recipe includes a double crust, so you’ll have a beautiful top and bottom.
Yields: One 9-inch pie (8 servings)
Prep Time: 45 minutes (plus chilling)
Cook Time: 60-75 minutes
Ingredients
For the Flaky Pie Crust (or use 2 store-bought crusts):
· 2 ½ cups (315g) all-purpose flour
· 1 teaspoon salt
· 1 tablespoon granulated sugar
· 1 cup (2 sticks or 226g) unsalted butter, very cold and cubed
· 6-8 tablespoons ice water
For the Apple Filling:
· 6-7 cups (about 2-2.5 lbs or 900g-1.1kg) peeled, cored, and sliced apples (see “Best Apples” note below)
· ½ cup (100g) light brown sugar, packed
· ½ cup (100g) granulated sugar
· ¼ cup (30g) all-purpose flour
· 1 tablespoon lemon juice
· 1 ½ teaspoons ground cinnamon
· ¼ teaspoon ground nutmeg
· ¼ teaspoon salt
· 2 tablespoons (28g) unsalted butter, cut into small pieces
For Assembly:
· 1 egg, beaten with 1 tablespoon of water (for egg wash)
· 1 tablespoon coarse sugar (like turbinado), for sprinkling
Instructions
Part 1: Make the Pie Crust (skip if using store-bought)
- Combine Dry Ingredients: In a large bowl, whisk together the flour, salt, and sugar.
- Cut in Butter: Add the cold, cubed butter. Using a pastry cutter, two forks, or your fingertips, work the butter into the flour until the mixture resembles coarse crumbs with some pea-sized pieces of butter remaining. These butter pieces are the key to a flaky crust.
- Add Ice Water: Sprinkle 6 tablespoons of ice water over the mixture. Gently mix with a fork until the dough begins to clump. If it’s too dry, add more water, one tablespoon at a time. You should be able to squeeze a handful of dough and have it hold together.
- Form and Chill: Divide the dough into two disks, one slightly larger than the other (for the bottom crust). Wrap tightly in plastic wrap and refrigerate for at least 1 hour, or up to 2 days.
Part 2: Make the Filling & Assemble
- Preheat Oven: Place a baking sheet on a lower oven rack to preheat with the oven to 375°F (190°C). This will catch any drips and help cook the bottom crust.
- Prepare Apples: Peel, core, and slice your apples into ¼-inch thick slices. Place them in a large bowl and toss immediately with lemon juice to prevent browning.
- Mix Filling: Add both sugars, flour, cinnamon, nutmeg, and salt to the apples. Toss until the apples are evenly coated.
- Roll Out the Crust:
· On a floured surface, roll the larger disk of dough into a 12-inch circle. Carefully transfer it to a 9-inch pie plate. Gently press it into the bottom and sides without stretching it.
· Spoon the apple filling into the crust, mounding it slightly in the center. Dot the top of the filling with the small pieces of butter. - Add the Top Crust:
· Roll out the second disk of dough. You can place it on top as a full crust, create a lattice, or use cookie cutters for decorative vents.
· If using a full crust, make several slits in the top to allow steam to escape.
· Trim the excess dough, leaving a 1-inch overhang. Tuck this overhang under the edge of the bottom crust and crimp the edges together with your fingers or a fork. - Bake:
· Brush the top crust lightly with the egg wash and sprinkle generously with coarse sugar.
· Place the pie on the preheated baking sheet in the oven.
· Bake for 60-75 minutes, or until the crust is deep golden brown and the filling is bubbly. If the edges brown too quickly, cover them with a pie shield or strips of foil.
Part 3: The Critical Rest
· Let the pie cool on a wire rack for at least 3-4 hours before slicing. This is non-negotiable! It allows the filling to thicken and set. Slicing into a hot pie will result in a soupy mess.
Tips for the Perfect Apple Pie
· The Best Apples for Pie: Use a mix of firm, tart and sweet apples for the best flavor and texture.
· Firm/Tart: Granny Smith, Braeburn, Jonathan
· Firm/Sweet: Honeycrisp, Pink Lady, Jazz
· Avoid: Red Delicious and other soft varieties, as they turn to mush.
· Keep Everything Cold: The secret to a flaky crust is keeping the butter cold until it hits the oven. If the dough gets warm while you’re working with it, pop it back in the fridge for 15 minutes.
· Prevent a Soggy Bottom:
· Preheating the baking sheet is a game-changer.
· The flour in the filling helps absorb the apple juices.
· Letting the pie cool completely allows the pectin in the apples to set.
· Taste Your Apples: If your apples are very tart, you may want a little more sugar. If they’re very sweet, you can reduce it slightly.
Frequently Asked Questions (FAQ)
Q: Why is my filling so runny?
A: The most common reasons are not using enough thickener (flour/cornstarch), not letting the pie cool completely, or using apples with a very high water content. Ensure you use the correct amount of flour and let the pie cool for the full 3-4 hours.
Q: Can I make this pie ahead of time?
A: Yes! You can:
- Refrigerate the assembled, unbaked pie for up to 2 days before baking.
- Freeze the unbaked pie for up to 3 months. Bake from frozen, adding 20-30 minutes to the baking time.
- The baked pie can be stored at room temperature for up to 2 days.
Q: Can I use pre-sliced apples?
A: It’s not recommended. Pre-sliced apples are often treated to prevent browning and can be dry and lacking in flavor. Fresh is always best for pie.
Q: My crust is browning too fast. What do I do?
A: Tent the entire pie loosely with aluminum foil for the remainder of the baking time. A pie crust shield is a handy tool for this.
Enjoy the process and the incredible reward of a homemade apple pie!