Of course! The Bloomin’ Onion is the ultimate shareable appetizer—a whole onion cut to bloom, fried to a golden crisp, and served with a signature, tangy dipping sauce. It’s a show-stopper.
Here’s a detailed recipe to recreate this restaurant classic at home.
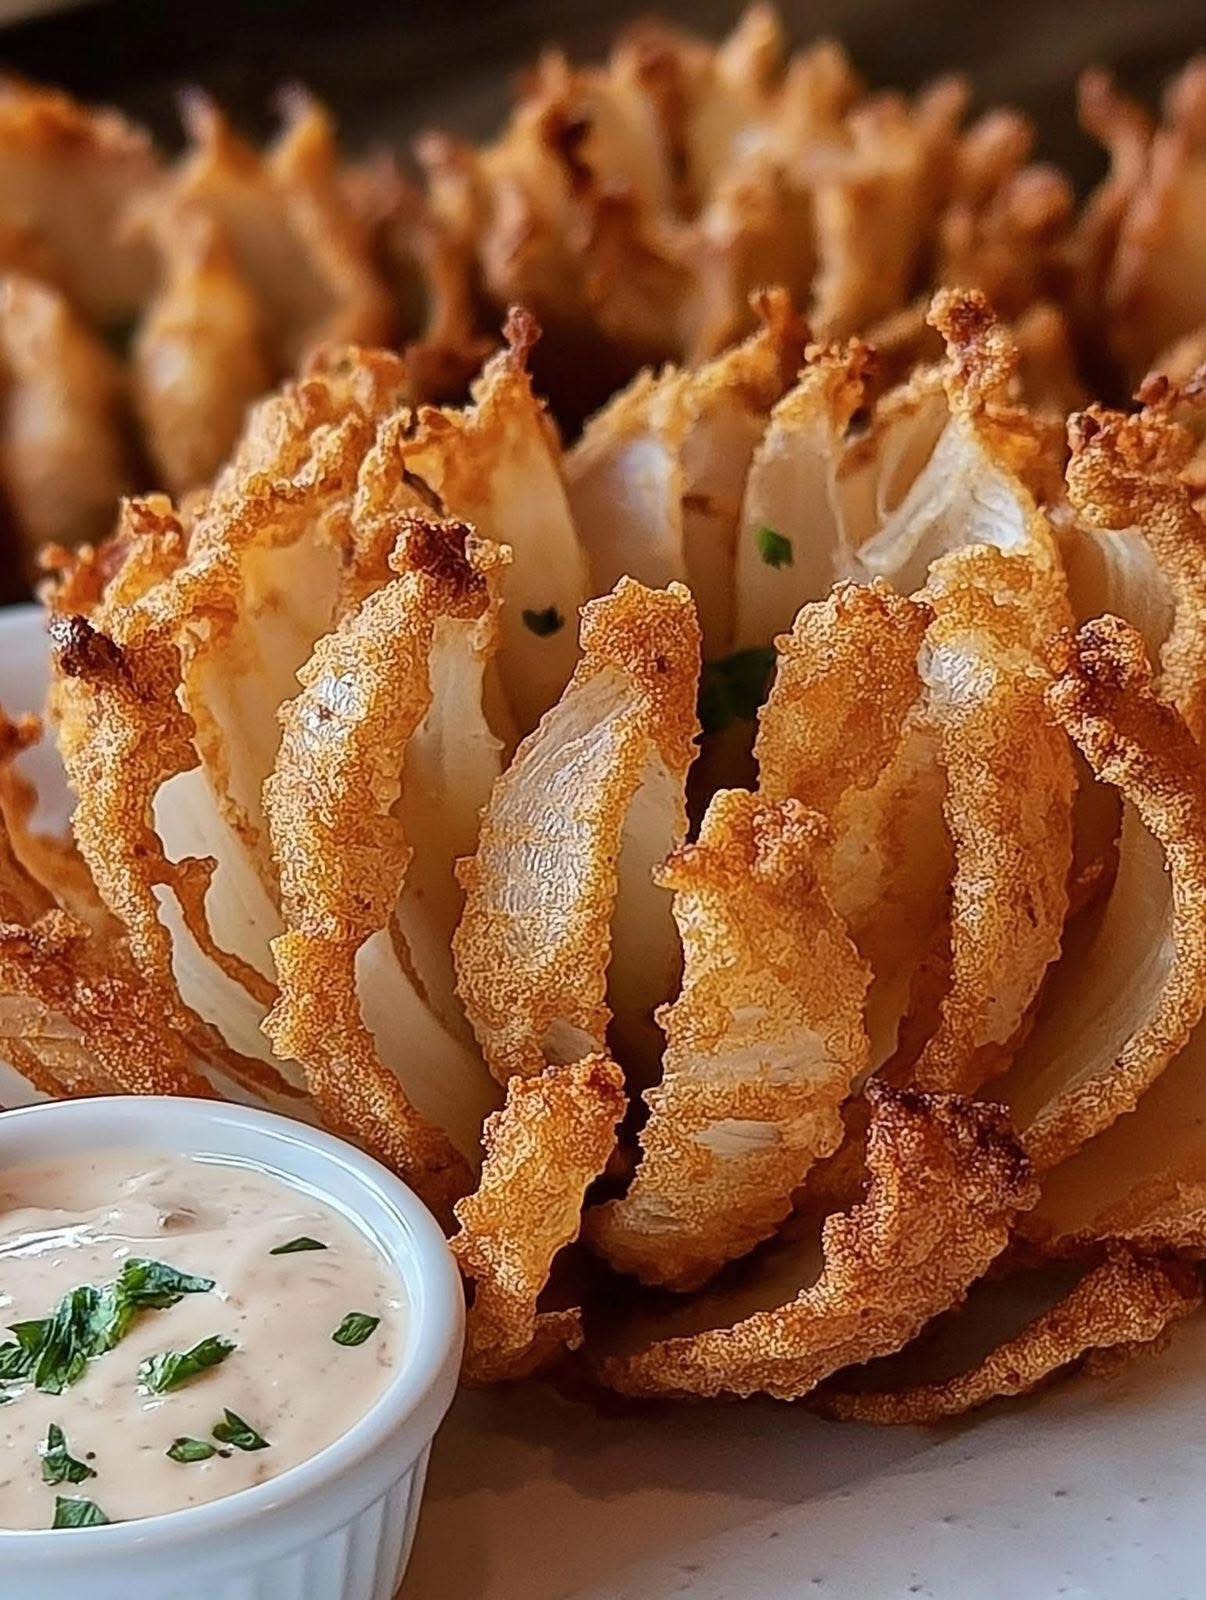
The Allure of the Bloomin’ Onion
Imagine a giant, flower-like onion, its “petals” coated in a perfectly seasoned, crispy batter. Each piece pulls away easily, ready to be dunked into a cool, creamy, and slightly spicy sauce. It’s a textural and flavorful masterpiece.
Copycat Bloomin’ Onion with Dipping Sauce
This recipe makes one large Bloomin’ Onion, perfect for 4-6 people to share.
Ingredients
For the Onion and Coating:
· 1 large sweet onion (like Vidalia or Spanish), about 4-5 inches in diameter
· 2 cups buttermilk
· 1 cup all-purpose flour
· 2 teaspoons paprika
· 1 teaspoon garlic powder
· 1 teaspoon cayenne pepper (adjust to your heat preference)
· 1 teaspoon dried oregano
· ½ teaspoon cumin
· 1 teaspoon salt
· ½ teaspoon black pepper
· For Frying: 4-6 cups peanut or vegetable oil
For the Signature Dipping Sauce:
· ½ cup mayonnaise
· 2 tablespoons ketchup
· 2 tablespoons creamy horseradish
· 1 teaspoon paprika
· ¼ teaspoon garlic powder
· ¼ teaspoon dried oregano
· 1 pinch cayenne pepper
· Salt and black pepper to taste
Equipment
· A sharp paring knife
· A large, heavy-bottomed pot or Dutch oven (for stability while frying)
· Spider strainer or slotted spoon
· Wire rack set over a baking sheet (for draining)
· Paper towels
Instructions
Step 1: Prepare the Onion (The Most Important Step)
- Cut the Top: Peel the onion and slice about ¾ inch to 1 inch OFF the top (the pointy stem end). Leave the root end intact—this is what holds the onion together.
- Place the Onion: Set the onion cut-side down on a cutting board, with the root end facing up.
- Make the Cuts: Using a sharp paring knife, make a downward cut from the top (now the base) to about ½ inch from the root end. Do not cut through the root.
· Make your first cut to divide the onion in half.
· Then, make two more cuts in each half, so you have 4 sections.
· Finally, make a cut between each of those sections. You should end up with 16 evenly spaced cuts around the onion. - Gently “Bloom” It: Turn the onion over so the root end is on the bottom. Gently spread the “petals” apart with your fingers. You can gently separate the inner layers to help it open up.
Step 2: Marinate the Onion
· Place the bloomed onion in a large bowl, root-side down. Pour the buttermilk over it, making sure it gets in between all the petals. Let it soak for at least 30 minutes, and up to 1 hour. This helps the coating stick and makes the onion tender.
Step 3: Make the Dipping Sauce
· While the onion is marinating, whisk all the dipping sauce ingredients together in a small bowl. Cover and refrigerate to allow the flavors to meld.
Step 4: Create the Seasoned Coating
· In a separate large bowl, whisk together the flour, paprika, garlic powder, cayenne, oregano, cumin, salt, and pepper.
Step 5: Coat the Onion
- Remove the onion from the buttermilk, letting the excess drip off.
- Place the onion, root-side up, into the bowl of seasoned flour.
- Scoop the flour mixture over the onion, making sure to get the seasoning in between every petal. Be thorough! You can gently separate the petals to help.
- Once fully coated, gently shake off the excess flour.
Step 6: Fry to Perfection
- Heat the Oil: In your large, heavy pot, heat 4-6 inches of oil to 350°F (175°C). Use a deep-fry or candy thermometer for accuracy. This is crucial.
- Lower the Onion: Carefully place the coated onion, root-side down, into a spider strainer. Slowly and gently lower it into the hot oil. The oil will bubble vigorously.
- Fry: Fry for 3-4 minutes. The petals will start to soften and open up.
- Flip: Carefully flip the onion over using the spider strainer and a pair of tongs for support. Fry for another 3-4 minutes, until the entire onion is deep golden brown and crispy.
- Drain: Carefully lift the onion out of the oil and let the excess oil drip off. Place it on a wire rack set over a baking sheet (this keeps it crispy). Let it drain for 2-3 minutes.
Step 7: Serve Immediately!
· Transfer the Bloomin’ Onion to a serving plate. Serve immediately with the chilled dipping sauce in the center.
Chef’s Notes & Tips for Success
· Safety First! Hot oil is dangerous. Never leave it unattended. Keep a lid for the pot nearby in case of a fire and avoid any water splashes.
· The Root is Key: The root is the structural foundation. If you cut it off, the onion will fall apart in the fryer.
· Temperature is Everything: If the oil is too cool, the onion will be greasy. If it’s too hot, the outside will burn before the inside is cooked. A thermometer is your best friend here.
· Double-Dip for Extra Crunch (Optional): For an even thicker, crunchier coating, after the first flour coat, you can dip it back in the buttermilk and then into the flour a second time.
· Make it Spicier: Add more cayenne pepper to the flour mixture or a dash of hot sauce to the dipping sauce.
· Baking Alternative (Less Crispy, but Lighter): For a baked version, preheat oven to 400°F (200°C). After coating, spray the onion thoroughly with cooking spray. Bake for 20-25 minutes until golden and crispy. The result will be different from deep-frying but still delicious.
Enjoy your incredible, homemade Bloomin’ Onion! It’s a project, but the “wow” factor is absolutely worth it.