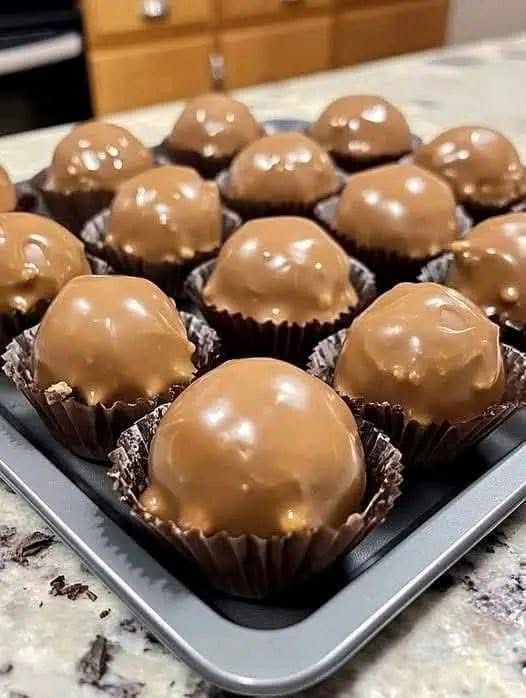
Of course! Butterfinger Balls are a fantastically easy, no-bake treat that captures the iconic flavor of a Butterfinger candy bar in a fun, bite-sized form. They’re perfect for parties, gifts, or a quick sweet fix.
Here are a couple of versions, starting with the classic (and simplest) method.
Version 1: The Classic (With Candy Corn)
This is the most popular method and uses candy corn to mimic the unique “Butterfinger” flavor.
Ingredients:
· 1 (16 oz) jar of creamy peanut butter
· 1 (12 oz) bag of candy corn
· 2 cups (10 oz) powdered sugar
· 1 (12 oz) bag of chocolate melting wafers or chocolate chips
· 1 tbsp coconut oil or shortening (optional, for thinning chocolate)
· Crushed peanuts or peanut butter dust for topping (optional)
Instructions:
- Create the “Butterfinger” Filling: In a large, microwave-safe bowl, combine the entire jar of peanut butter and the entire bag of candy corn.
- Melt Together: Heat in the microwave in 30-second intervals, stirring well between each, until the mixture is completely smooth and melted. This usually takes about 2-3 minutes total.
- Combine with Sugar: Gradually add the powdered sugar to the warm peanut butter mixture. Stir until completely combined. The mixture will be very thick and become difficult to stir—this is normal!
- Chill the Dough: Cover the bowl and refrigerate the mixture for at least 1-2 hours, or until it’s firm enough to handle.
- Form the Balls: Use a small cookie scoop or a tablespoon to portion the mixture. Roll it between your hands to form 1-inch balls. Place them on a baking sheet lined with parchment paper.
- Chill Again: Once all balls are rolled, place the baking sheet in the freezer for 15-20 minutes. This step is crucial for preventing the balls from falling apart when you dip them.
- Melt the Chocolate: While the balls are chilling, melt the chocolate wafers in a microwave-safe bowl according to package directions. If using chocolate chips, add a tablespoon of coconut oil or shortening to help it melt smoothly and be easier to dip.
- Coat the Balls: Remove a few balls from the freezer at a time. Using a fork or a dipping tool, dip each ball into the melted chocolate, tap off the excess, and place it back on the parchment paper.
- Add Topping (Optional): If desired, immediately sprinkle the top with a tiny bit of crushed peanut or peanut butter dust before the chocolate sets.
- Set the Chocolate: Allow the chocolate to set at room temperature. For a faster set, you can pop them back in the refrigerator for 10 minutes.
- Store: Keep Butterfinger Balls in an airtight container in the refrigerator for up to 2 weeks.
Version 2: The “From Scratch” Filling
This version uses ingredients you might already have and creates a delicious, flaky-textured center.
Ingredients for the Filling:
· 2 cups creamy peanut butter
· 3 cups powdered sugar
· 2 cups crispy rice cereal (like Rice Krispies)
· 1 tsp vanilla extract
For the Coating:
· 1 (12 oz) bag of chocolate melting wafers or chocolate chips
· 1 tbsp coconut oil or shortening (optional)
Instructions:
- Combine Filling: In a large bowl, mix the peanut butter, powdered sugar, crispy rice cereal, and vanilla extract together until well combined. The cereal will break down a little, which is good—it creates that classic flaky texture.
- Chill and Form: Follow the same steps as the classic version: refrigerate until firm, roll into balls, and place on a parchment-lined tray.
- Freeze: Freeze the balls for 15-20 minutes to firm up.
- Coat and Set: Melt the chocolate and dip the frozen balls. Let the chocolate set completely before storing.
🌟 Pro Tips for Success:
· Don’t Skip the Chilling: A firm, cold center is the key to easy, mess-free dipping. If the balls get too soft while you’re working, just pop them back in the freezer for a few minutes.
· Use a Fork or Dipping Tool: A fork is perfect for dipping. Slide the fork under the ball, lower it into the chocolate, lift it out, and gently tap the fork on the side of the bowl to remove excess chocolate.
· Troubleshooting Sticky Hands: If the mixture is too sticky when rolling, dust your hands lightly with powdered sugar.
· Gifting: These make wonderful gifts! Package them in a cute box or tin lined with parchment paper.
Enjoy your delicious homemade Butterfinger Balls! They’re sure to be a hit.