Of course! This is a classic, no-frills recipe for a traditional homemade white loaf. It’s the kind of bread your grandmother might have made—simple, wholesome, and incredibly satisfying. The process is as rewarding as the result.
The Ultimate Traditional White Bread
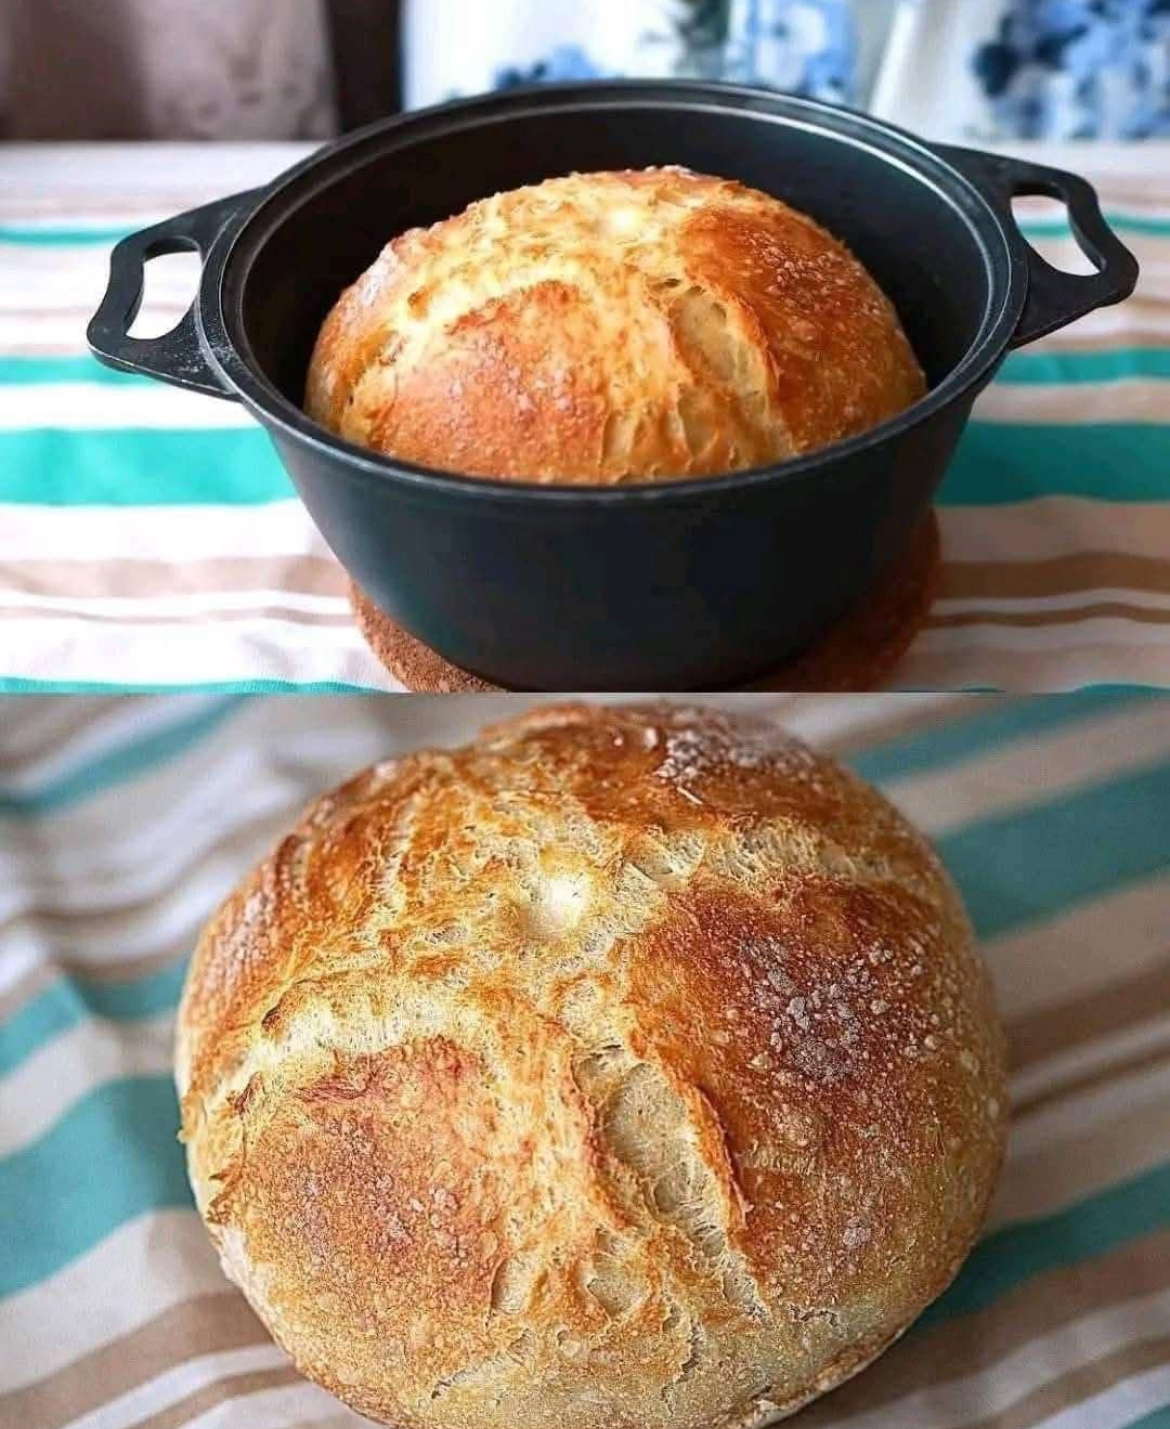
This recipe yields two beautiful, soft-crumbed, golden-crusted loaves that are perfect for sandwiches, toast, or simply slathered with butter.
Prep time: 25 mins + rising | Cook time: 30 mins | Total time: 3-4 hours (mostly inactive) | Yields: 2 loaves
Ingredients
· 6 – 7 cups (750-875g) All-Purpose Flour (divided)
· 2 ¼ tsp (1 packet / 7g) Active Dry Yeast
· 2 ½ cups (590ml) Warm Water (about 110°F/43°C – warm to the touch, not hot)
· 2 tbsp (25g) Granulated Sugar
· 1 tbsp (18g) Salt
· 2 tbsp (30ml) Neutral Oil (like vegetable, canola, or olive oil), plus more for greasing
Instructions
Step 1: Activate the Yeast
In a very large mixing bowl, combine the warm water, sugar, and yeast. Stir gently and let it sit for 5-10 minutes until it becomes foamy and creamy. This “proofs” the yeast, ensuring it’s alive and active. If it doesn’t foam, your yeast may be dead, and you should start over.
Step 2: Make the Dough
· To the yeast mixture, add the salt, oil, and 3 cups of the flour. Stir with a wooden spoon or a dough whisk until it forms a thick, sticky batter.
· Gradually add more flour, about 1 cup at a time, stirring until the dough becomes too stiff to stir.
· Turn the dough out onto a lightly floured surface. Begin kneading, adding only as much of the remaining flour as needed to prevent sticking. The dough should be soft and slightly tacky, but not sticky.
Step 3: Knead to Perfection
· Knead the dough for 8-10 minutes. Use the heel of your hand to push the dough away from you, then fold it back over itself, give it a quarter turn, and repeat.
· You’ll know it’s ready when the dough is smooth, elastic, and springs back slowly when you poke it with your finger.
Step 4: First Rise (Bulk Fermentation)
· Place the dough in a large, lightly oiled bowl, turning it once to coat all sides.
· Cover the bowl with a clean, damp kitchen towel or plastic wrap.
· Let it rise in a warm, draft-free place for 1 to 1 ½ hours, or until it has doubled in size.
· Tip: An oven with the light on (but OFF) is a perfect warm spot.
Step 5: Shape the Loaves
· Gently punch down the dough to release the air. Turn it out onto a lightly floured surface.
· Divide the dough into two equal pieces.
· Flatten each piece into a rectangle about 9×7 inches. Tightly roll the dough up from the short end, pinching the final seam and the ends to seal.
· Place the shaped loaves, seam-side down, into two greased 9×5 inch loaf pans.
Step 6: Second Rise (Proofing)
· Cover the loaf pans with the towel again and let the dough rise for a second time until it has doubled and crests about 1 inch above the rim of the pan. This usually takes 30-60 minutes.
· Preheat your oven to 375°F (190°C) towards the end of the rising time.
Step 7: Bake to Golden Brown
· For a soft crust, brush the top of the loaves with melted butter or a little milk before baking. For a crisper crust, spritz with water.
· Bake for 25-35 minutes. The bread is done when it is deep golden brown and sounds hollow when you tap the top.
· For absolute certainty, an internal thermometer should read 190-200°F (88-93°C).
Step 8: Cool (The Hardest Step!)
· Immediately remove the loaves from the pans and place them on a wire rack to cool completely.
· This is crucial! If you slice into the bread while it’s hot, the steam will escape and the interior will become gummy. Wait at least 2-3 hours for the best texture.
Baker’s Notes & Pro-Tips
· The Feel of the Dough is Key: The exact amount of flour can vary daily due to humidity. Focus on the texture—soft, smooth, and slightly tacky—rather than the cup measurement.
· Kneading is Therapy: Don’t rush the kneading. This develops the gluten, which is what gives bread its structure and chewy texture.
· Salt Kills Yeast: Notice that the salt is added with the flour, not directly to the yeast. This protects the yeast and allows it to work properly.
· Storage: Once completely cool, store in a bread bag or airtight container at room temperature for up to 4 days. For longer storage, slice and freeze for up to 3 months.
There is nothing in the world quite like the smell and taste of homemade bread. Enjoy the process and the incredible results