Of course! The Cherry Cheesecake Lush is a classic, no-bake dessert that’s incredibly easy to make and always a crowd-pleaser. It features layers of crunchy crust, creamy cheesecake filling, fluffy whipped topping, and cherry pie filling.
Here’s the traditional recipe with tips for perfection.
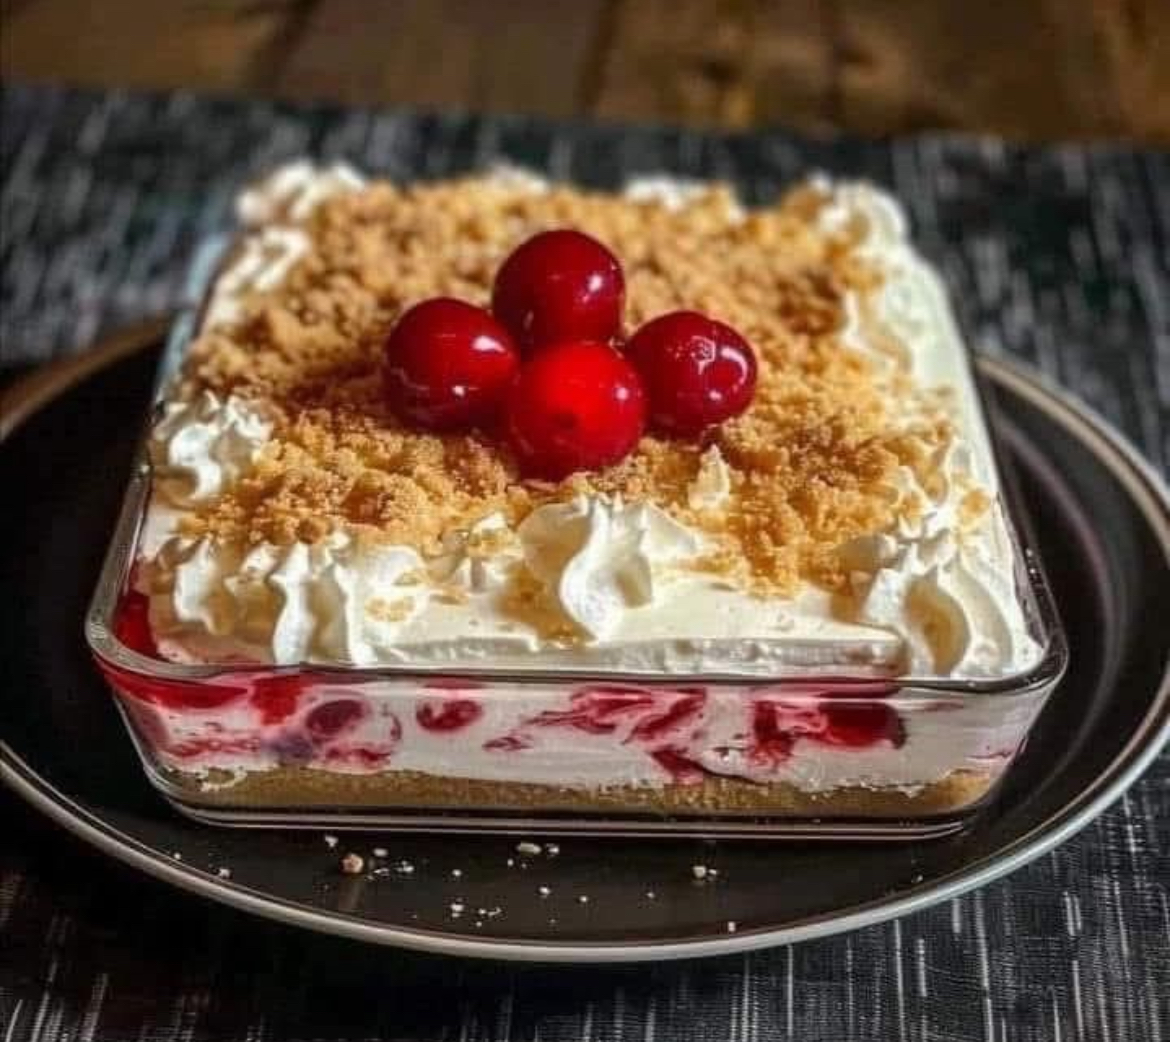
Cherry Cheesecake Lush
This no-bake dessert is all about the layers, offering a perfect bite of texture and flavor in every spoonful.
Prep Time: 30 minutes | Chill Time: 4+ hours (or overnight) | Servings: 12-16
Ingredients
For the Crust Layer:
· 1 ½ cups Graham Cracker Crumbs (about 12 full sheets)
· ⅓ cup Granulated Sugar
· 6 tbsp Butter, melted
For the Cheesecake Layer:
· 1 package (8 oz) Cream Cheese, softened to room temperature
· 1 cup Powdered Sugar
· 1 teaspoon Vanilla Extract
· 1 tub (8 oz) Cool Whip (or an equal amount of sweetened homemade whipped cream), thawed
For the Topping Layers:
· 1 tub (8 oz) Cool Whip (or homemade whipped cream)
· 1 can (21 oz) Cherry Pie Filling
Instructions
Step 1: Prepare the Crust
- In a medium bowl, mix the graham cracker crumbs and granulated sugar.
- Pour in the melted butter and stir until the mixture is evenly moist and resembles wet sand.
- Press this mixture firmly and evenly into the bottom of a 9×13 inch baking dish. A flat-bottomed glass or measuring cup helps to press it down tightly.
- Place the crust in the refrigerator to set while you prepare the next layer.
Step 2: Make the Cheesecake Layer
- In a large bowl, using an electric hand mixer or a stand mixer, beat the softened cream cheese until it is completely smooth and lump-free.
- Add the powdered sugar and vanilla extract. Beat again on medium speed until the mixture is smooth and well combined. Scrape down the sides of the bowl as needed.
- Gently fold in the first 8-ounce tub of Cool Whip (or homemade whipped cream) until no white streaks remain. Be gentle to keep the filling light and fluffy.
Step 3: Assemble the Layers
- Remove the dish from the refrigerator. Spread the cheesecake mixture evenly over the chilled crust.
- Spread the second 8-ounce tub of Cool Whip evenly over the cheesecake layer.
- Carefully spoon the cherry pie filling over the whipped topping layer and spread it out gently.
- Cover the dish with plastic wrap and refrigerate for at least 4 hours, or preferably overnight. This chilling time is essential for the layers to set and the flavors to meld.
Step 4: Serve
· Cut into squares and serve cold. Store any leftovers covered in the refrigerator for up to 3-4 days.
Pro-Tips for the Perfect Lush:
· Room Temperature Cream Cheese is Non-Negotiable: This is the most important step! If the cream cheese is cold, you will end up with a lumpy filling no matter how long you mix it.
· Press the Crust Firmly: A well-packed crust won’t crumble when you cut into the dessert.
· Fold, Don’t Stir: When incorporating the Cool Whip into the cream cheese, use a folding motion with a spatula. Whipping or beating it will deflate the Cool Whip and make the layer denser.
· Drain the Cherries (Optional): If you prefer a less juicy topping and cleaner slices, you can place the cherry pie filling in a strainer for 10-15 minutes to let some of the excess liquid drain off before spreading.
· Easy Clean Slices: For picture-perfect slices, dip your knife in warm water and wipe it clean between each cut.
Delicious Variations:
· Different Crust: Use crushed Oreos (with the filling) instead of graham crackers. Omit the sugar from the crust if using Oreos.
· Different Fruit: Not a cherry fan? This recipe is incredibly versatile. Use blueberry, strawberry, or apple pie filling instead.
· Lemon Twist: Add 2 tablespoons of lemon juice and 1 teaspoon of lemon zest to the cheesecake layer for a refreshing lemon cherry flavor.
· Chocolate Lush: Use a chocolate wafer crust, add 1/2 cup of cocoa powder to the cheesecake layer, and top with chocolate shavings instead of fruit.
Enjoy this cool, creamy, and effortlessly impressive dessert