Of course! Homemade Butterfinger Balls are a fantastic, no-bake treat that captures the iconic crispy, peanut-buttery, and chocolatey flavor of the classic candy bar. They’re surprisingly easy to make and incredibly addictive.
Here’s a foolproof recipe that uses simple ingredients.
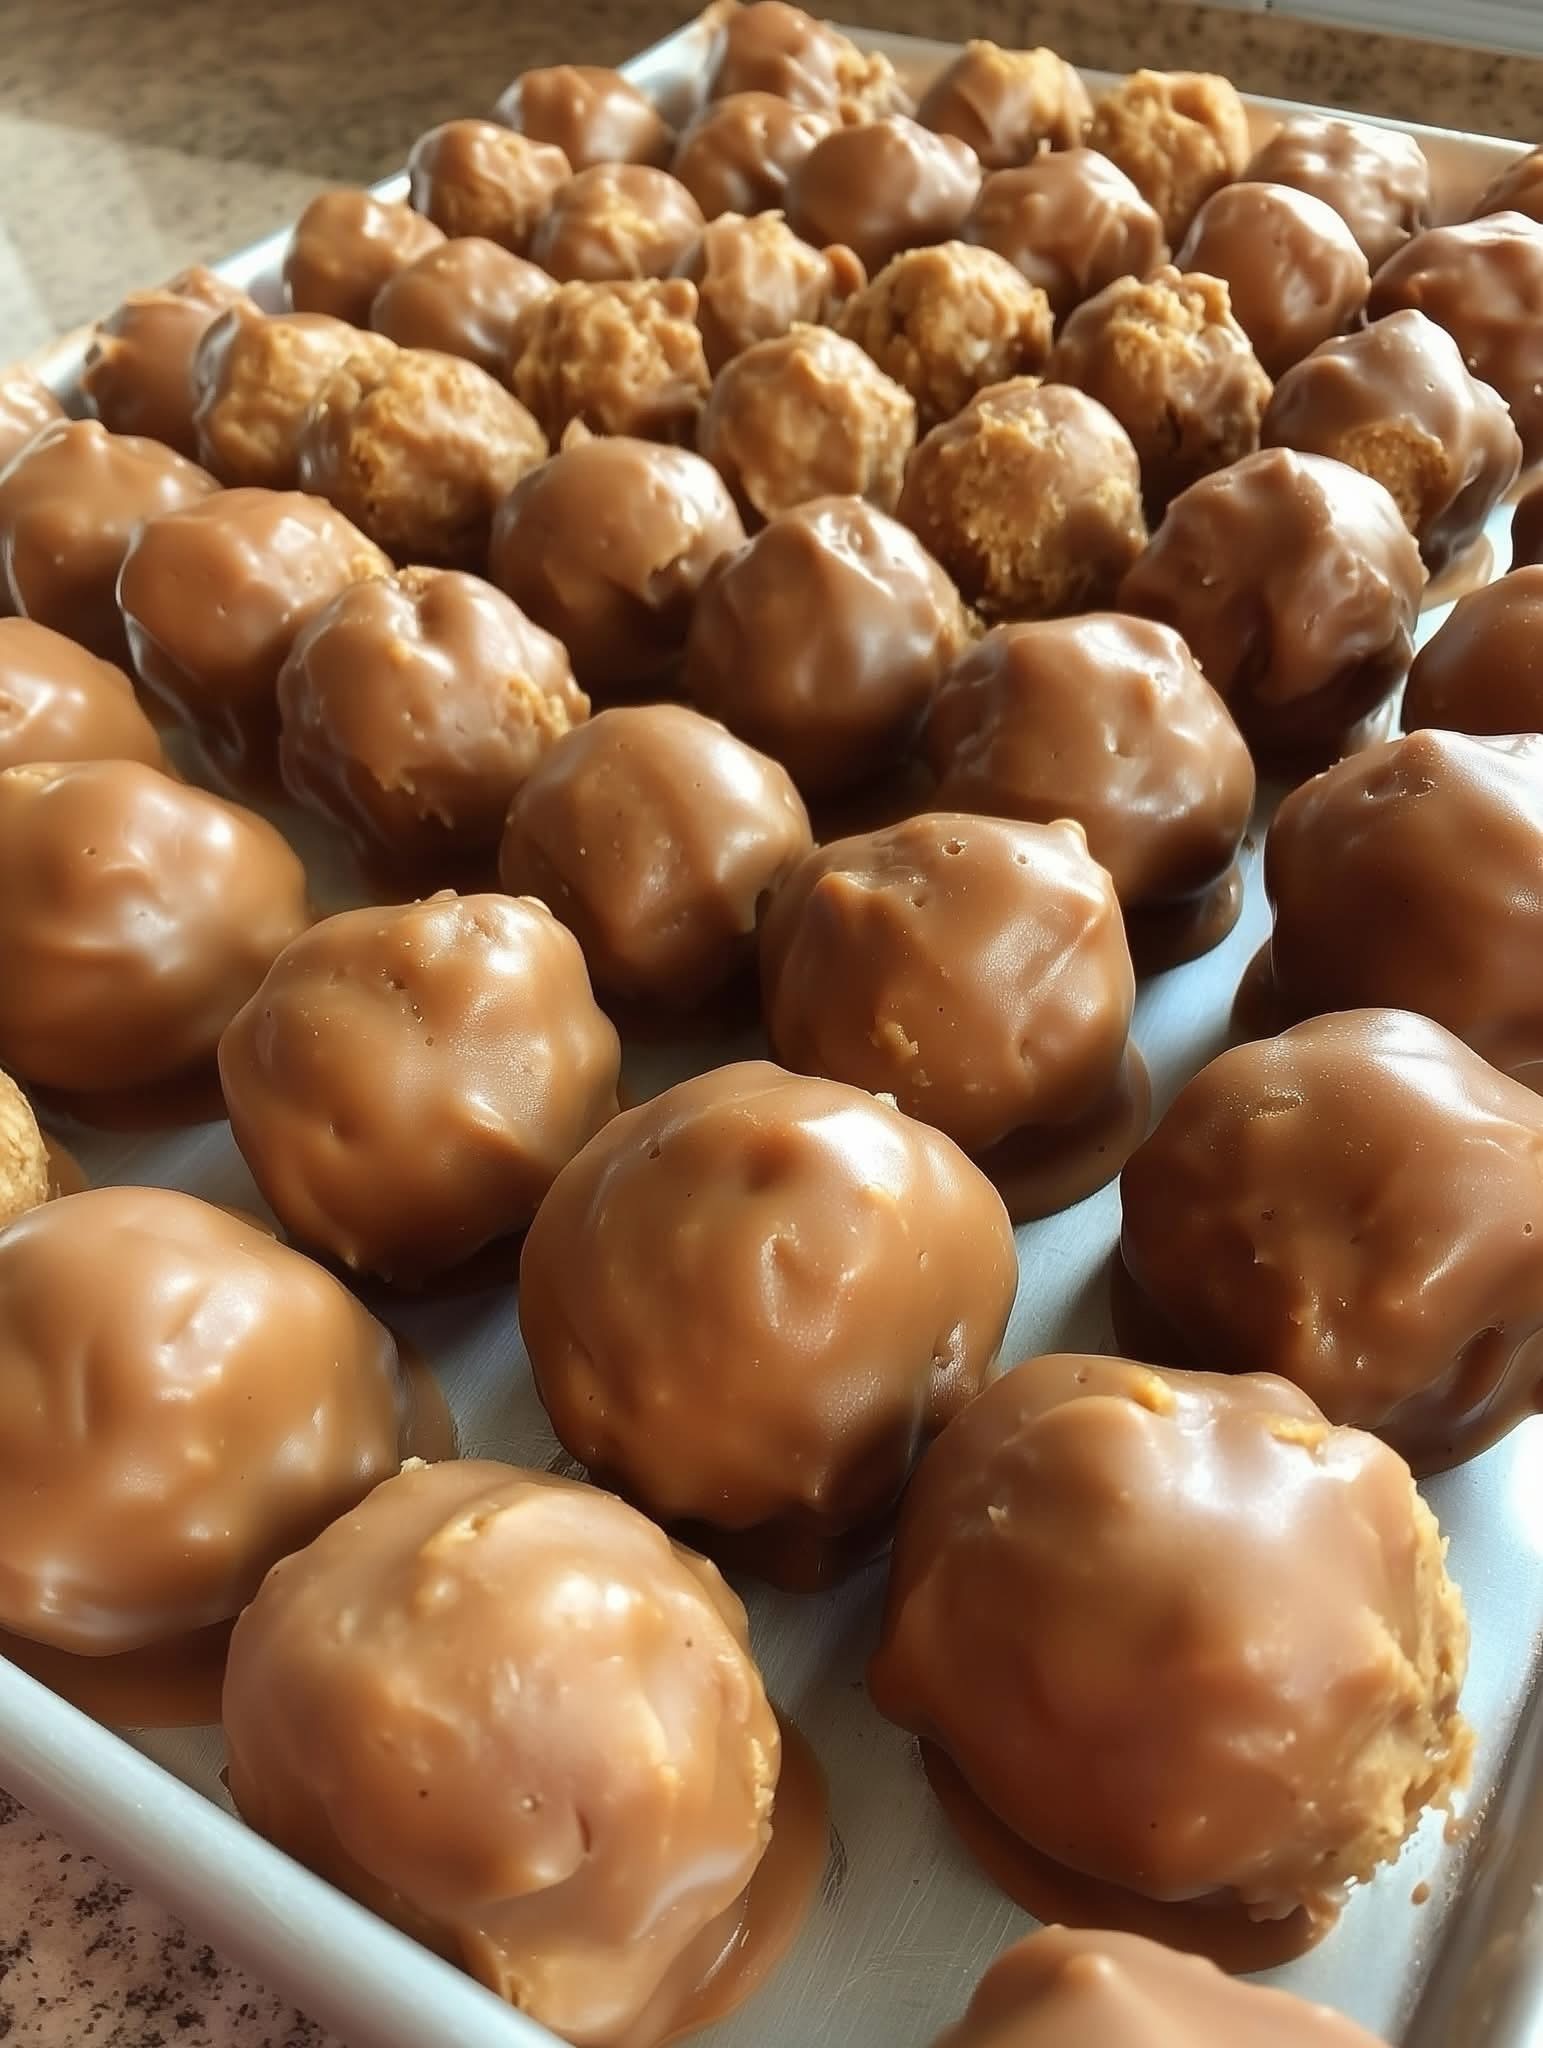
Homemade Butterfinger Balls
This recipe uses a clever trick with candy corn to create that signature crispy, flaky texture.
Yields: About 24-30 balls
Prep time: 20 minutes
Chill time: 30 minutes
Cook time: 5 minutes (for melting)
Ingredients
For the “Butterfinger” Filling:
· 1 (16 oz) bag of candy corn (about 2 ½ cups)
· 1 (16 oz) jar of creamy peanut butter (about 1 ½ cups)*
· Pinch of salt (optional, if your peanut butter isn’t salted)
For the Coating:
· 12 oz (about 2 cups) semi-sweet or dark chocolate chips
· 1 tbsp coconut oil or shortening (this makes the chocolate smoother and easier to coat)
Peanut Butter Note: For the best texture, use a standard, processed peanut butter like Jif or Skippy. Natural peanut butter (the kind that separates) can make the filling too oily and soft.
Instructions
- Line a Pan: Line a baking sheet with parchment paper or a silicone baking mat. Set aside.
- Melt the Base: In a large, microwave-safe bowl, combine the candy corn and the peanut butter. Microwave in 30-second bursts, stirring well after each interval, until the mixture is completely melted and smooth. This usually takes about 1.5 to 2 minutes total.
· Stovetop Method: You can also melt this mixture in a saucepan over low heat, stirring constantly. - Combine and Chill: Stir the mixture until it’s fully combined. It will be very thick and glossy. Let it cool for 5-10 minutes until you can handle it, then cover the bowl and refrigerate for at least 30-60 minutes, or until it’s firm enough to roll.
- Form the Balls: Once the mixture is firm, use a small cookie scoop or a teaspoon to portion it out. Roll it into smooth, 1-inch balls and place them on the prepared baking sheet. If the mixture becomes too soft and sticky to handle, pop it back in the fridge for 15 minutes.
· Pro Tip: For less mess, lightly grease your hands with butter or cooking spray. - Chill Again: Place the entire baking sheet of rolled balls in the freezer for at least 15-20 minutes. This is a crucial step! Frozen balls are much easier to dip in chocolate without falling apart.
- Melt the Chocolate: While the balls are chilling, combine the chocolate chips and coconut oil/shortening in a clean, microwave-safe bowl. Microwave in 20-second intervals, stirring thoroughly each time, until completely smooth and melted.
- Coat the Balls: Remove a few balls from the freezer at a time (keeping the rest cold). Using a fork or a dipping tool, dip each ball into the melted chocolate, tap off the excess, and place it back on the parchment paper.
- Set the Chocolate: Once all balls are coated, you can leave them as is or sprinkle with a little flaky sea salt for a gourmet touch. Let the chocolate set at room temperature (this can take an hour), or for a faster set, place them in the refrigerator for 15 minutes.
- Serve and Store: Once the chocolate is firm, they are ready to eat! Store them in an airtight container in the refrigerator for up to 2 weeks.
🌟 Pro Tips for Success
· Texture is Key: The chilling steps are non-negotiable. A firm, cold center is what allows you to roll and dip them neatly.
· Don’t Overheat Chocolate: Be patient when melting the chocolate. Overheating can cause it to “seize” (become clumpy). If this happens, stir in a tiny bit more coconut oil (a teaspoon at a time) to try to save it.
· For a Perfect Look: After dipping, if you want a classic “Butterfinger” look, you can use the tines of your fork to create wavy lines in the chocolate before it sets.
· Double-Boil for Shine: For the shiniest, most professional-looking chocolate coating, melt the chocolate and coconut oil using a double boiler instead of the microwave.
💡 Flavor Variations
· Different Chocolate: Use milk chocolate for a sweeter treat or white chocolate for a fun contrast.
· Add Crunch: Roll the finished, chocolate-dipped balls in crushed peanuts for an extra crunchy exterior.
· Spicy Kick: Add a tiny pinch of cayenne pepper to the peanut butter mixture for a surprising and delicious spicy-sweet flavor.
Enjoy your homemade candy-making adventure! These are guaranteed to be a hit with family and friends.